Interlock Guide · Summer 2026
White Haze on Your New Pavers? Efflorescence Explained (and Why You Shouldn't Panic Yet)

The white powdery haze on your new pavers is efflorescence, and it is not dirt, not a defect, and not your contractor's fault. It is calcium hydroxide left over from the cement curing process inside the paver, dissolved by moisture, carried to the surface by capillary action, and left behind as calcium carbonate when the water evaporates and the deposit reacts with carbon dioxide in the air. It comes from inside the stone. It typically clears on its own in 3 to 6 months. And the two things most homeowners instinctively do about it, blast it with a pressure washer or seal over it, are the only two ways to turn a temporary cosmetic annoyance into permanent damage.
We are writing this in mid-July, which is not an accident. Every year around now the phone starts, and the pattern is always the same: patio installed in April or May, looked flawless through a wet June, then a hot dry stretch hits and by the second week of July it looks like somebody dusted the whole thing with flour. The caller has usually spent between $22,000 and $42,000 on that patio. They are not calling to ask a question. They are calling because they think they have been ripped off.
They haven't been. Here is what is actually happening in that paver, why July makes it worse, and what to do about it.
What Is Efflorescence, Actually?
Concrete pavers are made from portland cement, aggregate, sand, water and pigment, pressed at high pressure and cured. When cement hydrates, it does not consume every bit of calcium. A portion stays behind as free calcium hydroxide, chemically loose inside the paver body.
Then three things line up:
- Water gets in. Rain, dew, irrigation, or moisture wicking up from the bedding sand below. Concrete pavers are not waterproof; a paver is a sponge with very small pores.
- The water dissolves the free lime and carries it toward the surface through those pores. This is capillary action, the same reason a paper towel pulls water uphill.
- The water evaporates off the face and leaves the dissolved calcium hydroxide stranded on top, where it meets carbon dioxide in the air and converts to calcium carbonate. Calcium carbonate is white, mostly insoluble in plain water, and stubborn. That is your haze.
Read step 3 again, because it explains the timing. Evaporation is the engine. The faster water leaves the surface, the more salt gets left behind. A 31 C afternoon in Hamilton with a breeze is close to ideal conditions for making efflorescence visible. Cool wet weather keeps the surface damp and the deposit dissolved, so you never see it. Hot dry weather develops the photograph.
This is why spring installs bloom in July, and why the same driveway can look clean in the shade under the maple and chalky where the sun cooks it from noon on. Nothing is different about those pavers except the evaporation rate.
No, Your Contractor Did Not Install These Wrong
Let's deal with this directly, because it is the reason most people are reading this page at 11 p.m.
The calcium hydroxide causing the haze was put into your paver at the manufacturing plant. It was in the pallet when it came off the truck. No installer can add it, remove it, or prevent it. There is no base prep, no bedding sand spec, no laying pattern, and no compaction method that changes how much free lime is in a Unilock Beacon Hill or a Techo-Bloc Blu 60.
We are a Unilock and Techo-Bloc authorized installer and ICPI certified, and we will tell you plainly: every major manufacturer excludes efflorescence from their warranty. Not because they are dodging responsibility, but because it is inherent to portland cement itself. Unilock, Techo-Bloc, Barkman, Cambridge, every one of them publishes a technical page on it. Concrete producers have been dealing with this since the 1800s. It is chemistry, not craftsmanship.
Two more things that surprise people and are still normal:
- Pavers from the same pallet bloom differently. Free lime content varies batch to batch, sometimes within a batch. Blotchiness is the norm, not a sign of mixed material.
- Two identical driveways laid the same week by the same crew can behave completely differently. One faces south with no shade and no downspout nearby. The other is shaded until 2 p.m. and drains fast. Different evaporation, different bloom.
There is exactly one thing your installer controls that touches this, and it is not the pavers: drainage. Water moving continuously through a paver structure keeps feeding the process. A downspout dumping onto the field, a patio that ponds after every rain, an under-built base holding water in Hamilton's Halton Till clay instead of shedding it: those extend efflorescence from a 4-month nuisance into a multi-year recurring problem. If your interlock is two years old and still blooming and you have standing water on it after rain, that is a drainage conversation, not an efflorescence conversation. See our backyard drainage page for what that actually involves.
For a patio that is three months old and hazy in July? Your contractor did their job. Put the phone down.
How Long Does It Last?
Typically 3 to 6 months. Occasionally up to 12. Rarely beyond that.
Here is the important part, and it is genuinely good news: the paver contains a finite amount of free lime. It is not manufacturing more. Every cycle of moisture-migration-evaporation moves some of that finite supply out and leaves it on the surface, where rain, foot traffic, tires and a snow shovel gradually take it away. Eventually the supply runs out and the process stops permanently. This is a self-terminating problem.
| Install timing | When you notice it | Typically resolved by |
|---|---|---|
| April to May | First hot dry stretch, usually July | The following spring, after winter rain and snowmelt |
| June to August | Within 3 to 8 weeks, sometimes within days | Late fall to the following spring |
| September to November | Often not until the following April or May | Mid to late in the first full summer |
Our standing advice: give it one full Ontario winter and one spring of rain before you decide there is a problem. Freeze-thaw cycling and snowmelt are surprisingly effective at flushing the last of it out. A patio you were ready to tear up in August often looks fine by the following May, and you did nothing.
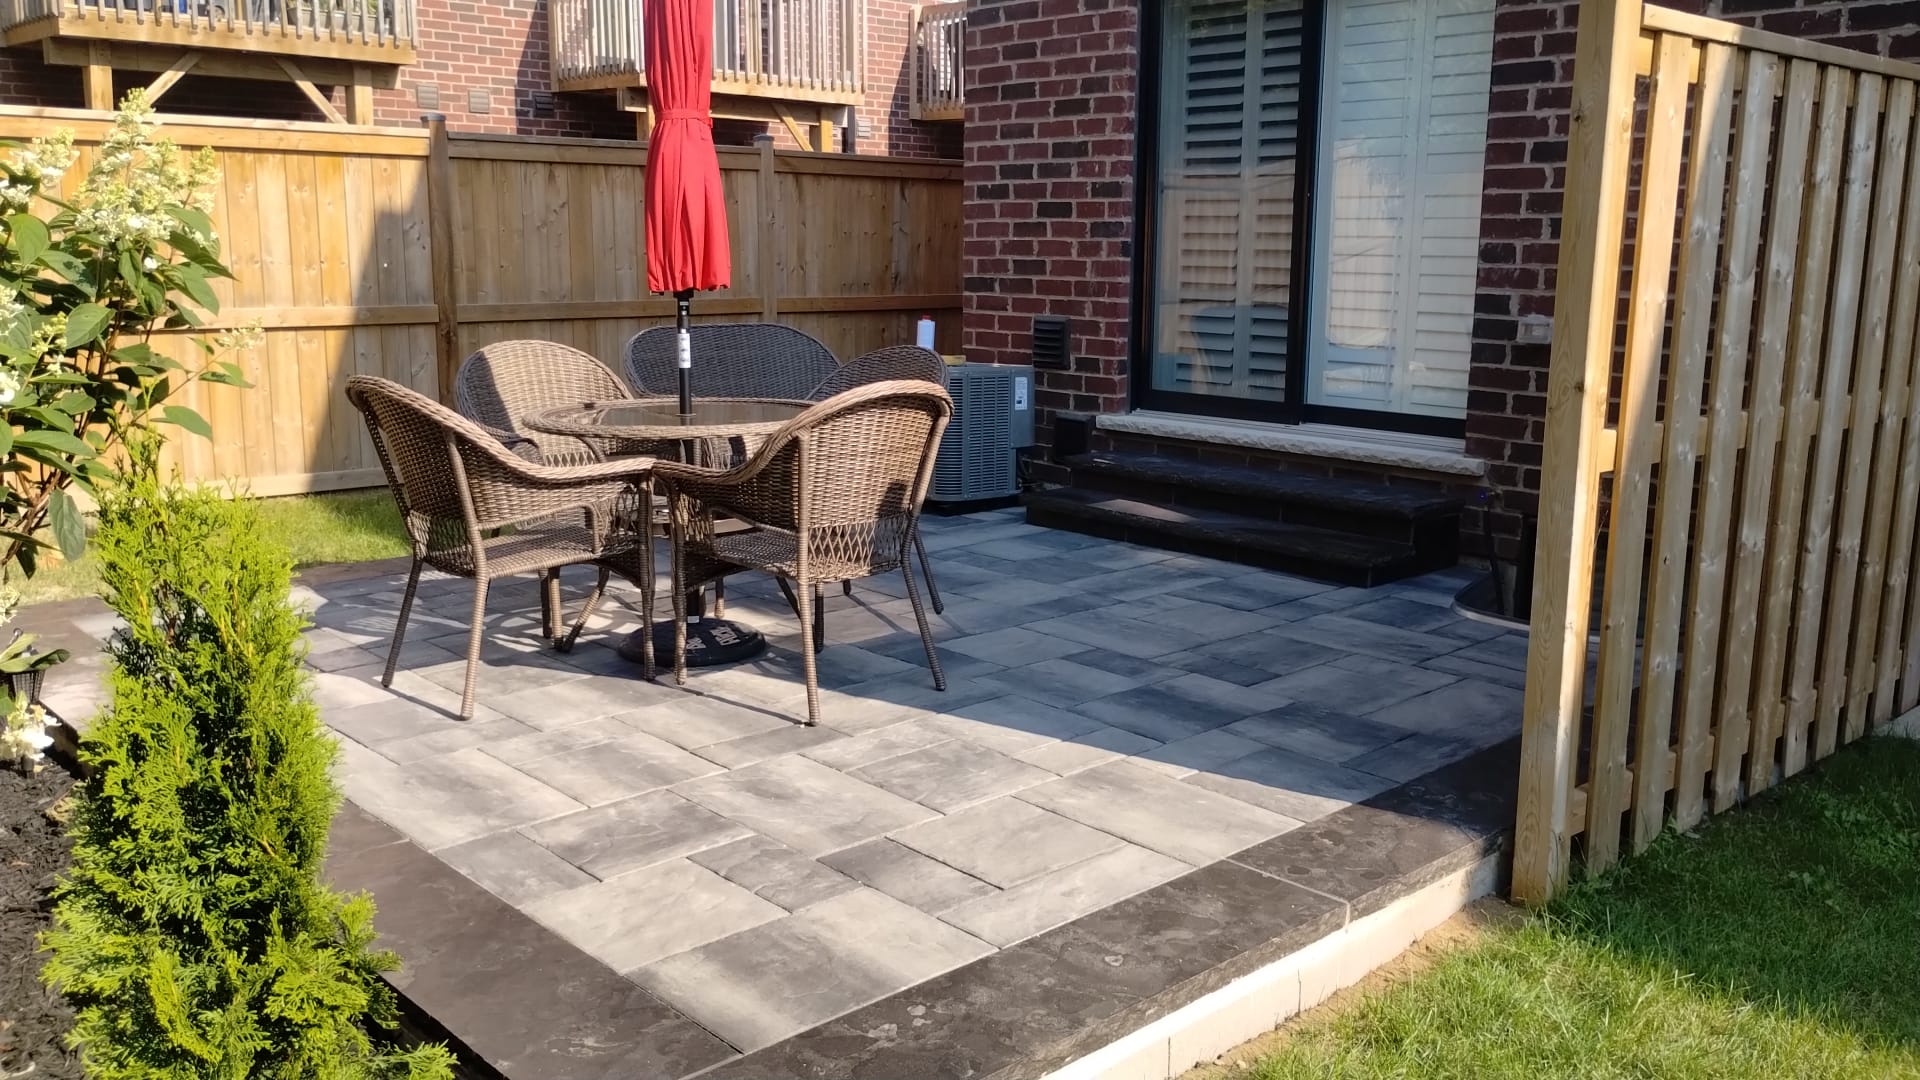
The 60-Day Rule
Do not put efflorescence cleaner on pavers less than about 60 days old. This is the one number to take away from this page if you take nothing else.
Efflorescence cleaners work because they are acids. They dissolve calcium carbonate. The problem is that they do not know the difference between the calcium carbonate you want gone and the calcium-rich cement paste holding your paver together. On a green paver, the surface paste is still gaining strength and is comparatively soft. Hit it with acid at week three and you etch the face: dull patches, exposed aggregate, and a lightened blotch that is now permanent and shaped exactly like where you sprayed. We have been called out to look at pavers where the "cleaning" left a more obvious mark than the efflorescence ever did.
Sixty days is a floor, not a target. Ninety is better. And in most cases you should not be reaching for cleaner at all.
The Two Expensive Mistakes
1. Aggressive pressure washing
The instinct is understandable and the outcome is bad in three separate ways.
First, high pressure blasts polymeric sand out of the joints. On a patio under a year old that sand is your entire interlock system; lose joint depth and the pavers start to shift, rock, and let weeds in. Second, a paver's colour and wear resistance live in a dense cement-rich face layer maybe 6 to 8 mm thick. A 3,000 PSI wand held close will cut through it, and it does not grow back. You get lightened stripes and visible wand arcs. Third, and this is the irony: pressure washing forces water deep into the paver. More water inside means more dissolved lime available to migrate out. The haze frequently comes back worse two weeks later, and now you have soft joints too.
If you are going to wash, use a fan tip at 1,200 to 1,500 PSI, keep the tip a foot off the surface, keep it moving, and understand you are washing dirt off, not removing efflorescence. The 2,800 PSI treatment belongs on a seven-year-old driveway being stripped for a full resand and reseal, not on a patio built this spring.
2. Sealing over the haze
This is the expensive one. This is the one that costs real money to undo.
A paver sealer is a film. When you apply a film over a surface that has white powder on it, you do not remove the powder; you laminate it. It is now under a layer of acrylic or urethane, permanently, and it will look exactly as bad as it did the day you sealed, forever, except now it also has a glossy sheen over it.
It gets worse. Sealing also traps moisture and the remaining free lime inside the paver. That moisture still wants out, and now there is a membrane in the way. What typically happens is the sealer blushes: a milky white cloudiness developing under or within the film as trapped moisture and lime push at it. Sometimes it delaminates outright and peels in sheets.
The fix is stripping: chemical strippers, a lot of labour, and a real risk of taking paver finish off with the coating. It routinely costs more than the original sealing job, and the result is never quite as clean as pavers that were never sealed.
Our rule: wait 12 months minimum after install before the first sealer. Let the efflorescence run its course, let the polymeric sand fully cure, confirm the haze has stopped returning, clean properly, let the surface dry completely, then seal. There is no upside to rushing it and the downside is measured in thousands.
The Removal Ladder
If the haze is still there after the pavers are well past 60 days and you have decided you cannot live with it, work up this ladder. Do not skip rungs.
Rung 1: Wait. Free, works most of the time, zero risk. Wait through a winter. Seriously. This rung resolves the majority of cases and every rung below it carries some risk of damage.
Rung 2: Water and a stiff brush. Some early, light bloom is loose enough that a garden hose and a stiff nylon-bristle push broom lift a good chunk of it. Not a wire brush; nylon. Try this before any chemistry.
Rung 3: 1:1 white vinegar and water. The mild-acid option. Pavers must be at least 60 days old. Test one paver in a corner nobody looks at first, wait 24 hours, and look at it in dry daylight before you commit to the whole field.
- Wet the pavers thoroughly with clean water first. This is not optional. Pre-wetting keeps the solution working on the surface instead of soaking into the pores where you cannot rinse it out.
- Apply the 1:1 mix, let it dwell 10 to 15 minutes, and do not let it dry on the surface. Re-mist if it starts to.
- Agitate with the nylon brush, then rinse hard with clean water. Rinse more than you think you need to. Acid left in the joints keeps eating.
- Work in shade or early morning. On a 30 C July afternoon in full sun the solution dries before it does anything except etch.
Rung 4: A proper efflorescence cleaner, diluted 4:1. Products like Sure-Klean 600 or Techniseal's efflorescence cleaner are stronger acids formulated for masonry. Dilute 4 parts water to 1 part cleaner; the label's strongest recommendation is for hard commercial cases, not your new backyard. Same protocol: pre-wet, dwell, agitate, rinse thoroughly. Test first, work in shade, wear eye protection and gloves, and protect adjacent plants and any aluminum or galvanized metal, because acid runoff will damage both. Never mix products.
One honest note about rung 4: acid cleaning can also trigger a fresh round of efflorescence, because you have just soaked the paver. Sometimes you clean it, it looks great for a month, and it comes back. That is not the product failing; that is the lime supply not being exhausted yet. Which brings you back to rung 1.
Is It Actually Efflorescence? Four Look-Alikes
Before you treat anything, identify it. Four different white problems get called efflorescence and only one of them is.
| What it is | Timing & location | Tells |
|---|---|---|
| Efflorescence | Weeks to months after install; blotchy across paver faces, worst in sun | Fine powdery bloom. Vanishes when wet, returns as it dries. Comes and goes with weather. |
| Polymeric sand haze | Within days of install; heaviest immediately beside the joints | Gritty, slightly plastic sheen, cured hard. Stays visible when wet. Follows joint lines, not sun. |
| Mortar / concrete haze | Immediately after install; near steps, caps, or where mortar was mixed | A hard cementy skin. Scratches off with a fingernail or a coin. Localized splash pattern. |
| Hard-water staining | Any age; sprinkler arcs, hose bib splash, downspout outlets | Sharp-edged deposits in a pattern that matches the water source. Hamilton water is moderately hard, so this is common here. |
The wet test is the fastest single diagnostic you have. Wet a hazy paver with a garden hose and watch. Efflorescence disappears while the paver is wet, because the water momentarily dissolves the film, then reappears as it dries. Polymeric sand residue is still sitting there staring at you when the paver is soaked. That test takes 30 seconds and costs nothing.
The efflorescence-versus-hard-water distinction matters for what you do next. Efflorescence comes from inside and self-terminates. Hard-water deposits come from outside and keep coming back until you move the sprinkler head. Waiting patiently for a sprinkler-arc stain to leave will not work, because it is being reapplied every Tuesday morning.
Living With It Until It Goes
Practical things that actually help, in Hamilton-area conditions:
- Move sprinkler heads off the hardscape. Repeated wetting and drying cycles are the pump that drives the whole process. A head throwing across the patio twice a day is running that cycle 14 times a week.
- Check your downspouts. Water discharging onto or under a paver field keeps the base saturated and the lime moving. Extend it past the hardscape.
- Rinse the surface occasionally with plain water. Not pressure. Just a hose. It helps carry the deposit away and costs you nothing.
- Do not use de-icing salt on it this winter. Different mechanism, but chlorides in fresh concrete cause real spalling. Sand for traction on new interlock through the first winter. Our post on salt damage on Ontario driveways covers why.
- Photograph it monthly, same spot, same time of day. Efflorescence fades so gradually that you will swear nothing is changing. The photos will tell you otherwise.
And if you are simply not going to be able to look at it for another eight months without it ruining your summer, that is a legitimate reason to clean it. Just do it at rung 3, after day 60, in the shade, with a test patch.
When to Actually Call Someone
Efflorescence itself is almost never worth a service call. These situations are:
- Heavy haze still returning after 18 months. Past that point, suspect a water source. Something is feeding water through that structure continuously and it is worth finding out what.
- White bloom concentrated in one low area that also ponds after rain. That is a grading and base problem wearing an efflorescence costume. See uneven interlock.
- Haze plus pavers that rock underfoot or joints that are visibly low. The efflorescence is the least of it; the base or the joint sand needs attention. Start at interlock repair.
- You are past the 12-month mark, the bloom is done, and you want the interlock sealed properly. This is the right time and the right job. Costs and process are broken down in our interlock cleaning, sealing and resanding cost guide for Halton.
- You are not sure which of the four white problems you have. Take a photo, wet a paver and take a second photo, and send them. It costs you an email and it might save you from acid-washing something that only needed a broom.
We have been installing interlock across Hamilton, Burlington, Oakville, Milton, Ancaster, Dundas, Stoney Creek and Waterdown since 2013, and efflorescence has never once been the reason a project failed. It is the most alarming-looking thing that is not actually a problem in this entire trade. The pavers you are staring at right now, chalky and grey in the July sun, are almost certainly going to look the way you imagined them by next spring, and the fastest route there is patience.
The routine care that does matter over the life of the installation is covered in our guide to interlock maintenance in Ontario.
Frequently Asked Questions
Related Reading
- Interlock cleaning, sealing & resanding costs in Halton
- What ICPI, Unilock and Techo-Bloc authorization actually means
- Interlock maintenance in Ontario
- Polymeric sand cure time & rain risk
- Weeds between interlock pavers: the permanent fix
- Interlock patios & driveways
- Interlock repair
Interlock past the 12-month mark and ready to be cleaned and sealed properly? We clean, resand and seal across Hamilton, Burlington, Oakville, Milton, Mississauga, Ancaster, Dundas, Stoney Creek, and Waterdown, and we will tell you honestly if it is too soon. Get a free quote